Finally, considerations were needed on how to cut all the 1/2" steel plate and all the other parts then how to move it around as it got heavier when these parts were assembled.
It was then that I thought of Smitty.
Smitty is a woodworking buddy who lives in Missoula and we've been friends ever since I came online in '95. He works as an engineer in a metal fabrication shop called Felco Industries and his being able to use their shop allowed us to build the bed, ways and supports over the course of a few Saturdays.
So, I invite you live vicariously and tinker along with Smitty and I as we build my next model wood lathe.
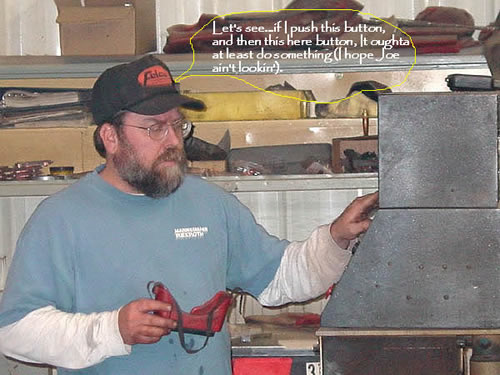
The first thing was to cut out the odd-shaped parts making up the bed. Below, Smitty is programming the plasma cutter to cut out the bridges and support brackets and all the other parts that make up the basic unit.
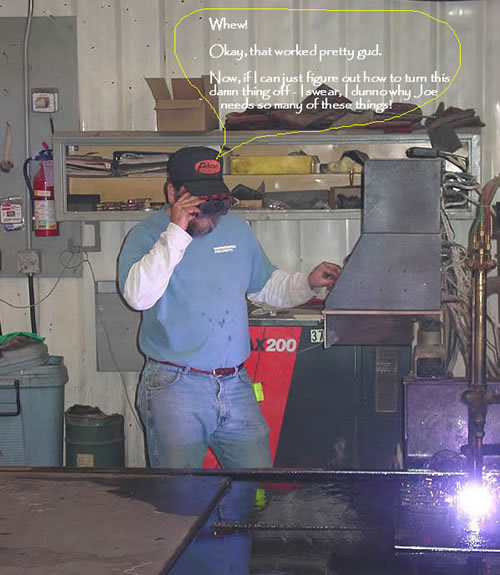
And here is the plasma cutter in action. I drew the entire plan at home and then Emailed it to Smitty where he took it and converted it into a special language the CNC understands.
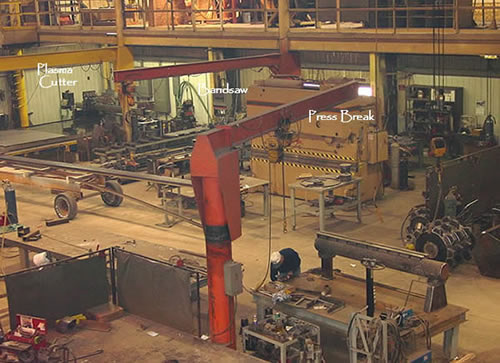
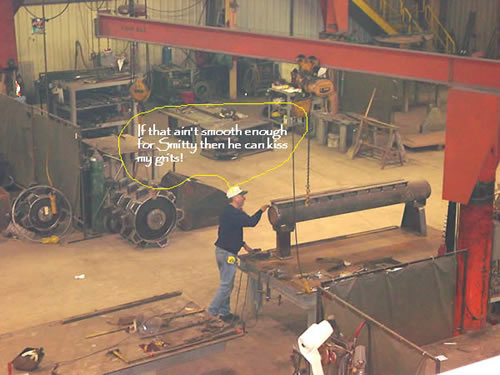
Here you can get an effect of how big the shop really is. The basic bed has been assembled and is sitting on a workbench awaiting some of its adornments.

Another impressive view taken from the mezzanine level you saw in the above photo. I'm down on the floor with all the major equipment behind me in the background.
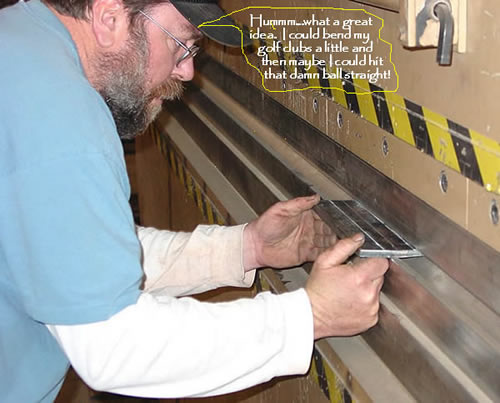
The next step was to cut out the central logo and then bend it to the proper radius so that it would fit tightly against the pipe making up the bed. However, before we actually committed to bending the finish piece, we tried it on a piece of scrap. Smitty's level of intense concentration is clearly evident in this photo.
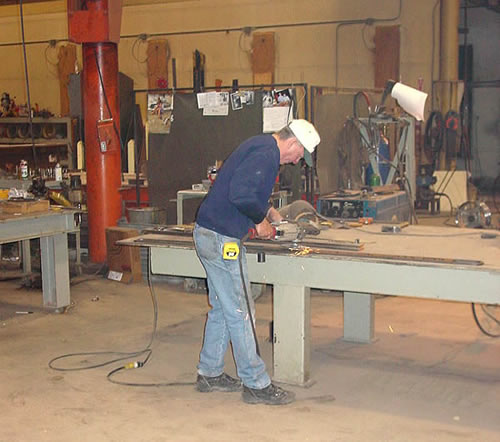
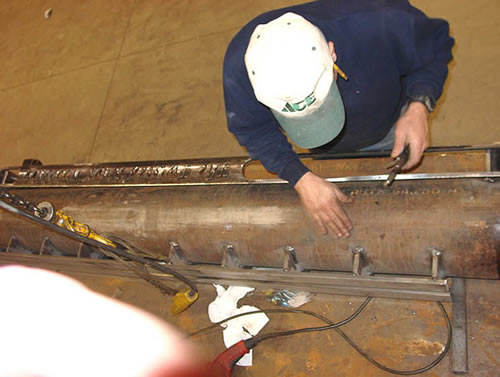
While Smitty was supposed to be doing something constructive, he slipped away with the camera to sneak another view of me downstairs - here I'm grinding the welds smooth.
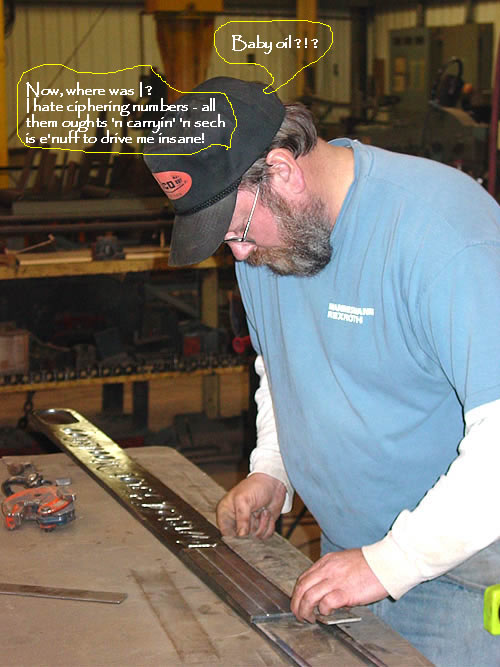
While I was busy doing that, His Genius-shipness was over at another table laying out the central logo in preparation for bending it. See if you can figure out what's wrong with this picture.
Grinding something flat is much easier than bent - here I'm grinding the central logo before taking it over for bending.
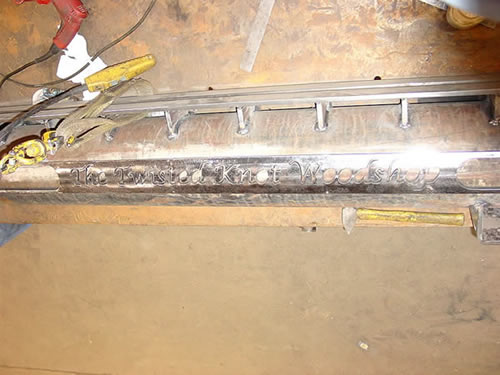
And, here it is all shined up, happily bent and positioned on the pipe. The interior parts of the letters were cut out separately on the plasma cutter. A sheet of copper will be applied behind the logo so that that color can be seen to contrast the color used on the bed. I think it'll look right snazzy behind the leaves, vines and letters. The "2003" and the letter parts will be applied to the copper backing with epoxy.
The central logo will eventually be attached using chrome bolts - here Smitty is standing on the bench to drill the holes while I tap them.
Now, I don't know whether I realized it was time to call it a day or I got too aggresive with the tap but I managed to break it off in the third hole.
Move on to Part Two if you want to see more.